 MBLogic
for an open world in automation
The SVG ID Property
In order to use scripting to control an SVG display object (e.g. turn a pilot light on and off), it must have a name. This name is known as the "id". An "id" is simply a unique string. It is not permitted to have two "ids" with the same name. If you do cause two "ids" to be the same, then the results are unpredictable. Typically what happens is that one of the objects ends up as an "orphan" with no way of controlling it.
Setting the "id" Property
To set an "id":
1) Select the object and then right click on it. When the menu appears, select "object properties".
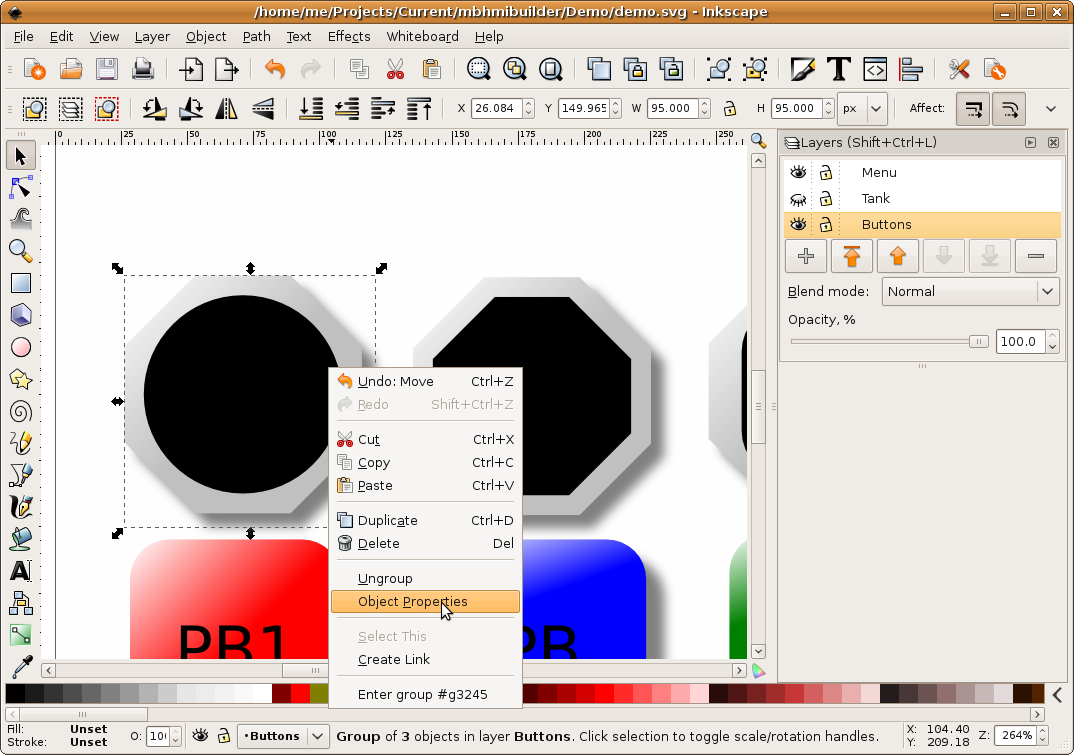
2) A dialogue box will appear. Enter the desired "id" into the "id" box. Leave the "label" and other settings as is. Record the "id" you used, as you will need to know it later.
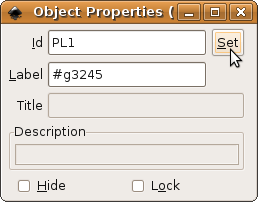
There are special requirements when setting the "id" for rotating objects (e.g. selector switches, dial gauges, pump rotors, etc.). See the section below for details.
It is not necessary to set the "id" property for objects that you don't intend to control (e.g. background art). However, it can be convenient to do so as this will make navigating through the objects in the XML editor easier.
The "id" Property for Rotating Objects (Selector Switches, Dial Gauges, Pumps)
Rotating objects have special requirements when setting an "id". The reason for this is the rotating object must normally rotate about its own centre. If special measures are not taken, the object will instead rotate about some other coordinate (usually the upper left corner of the drawing).
To set an "id" for a rotating object:
1) Select the object and then right click on it. When the menu appears, do not select "object properties". Instead, select "enter group".
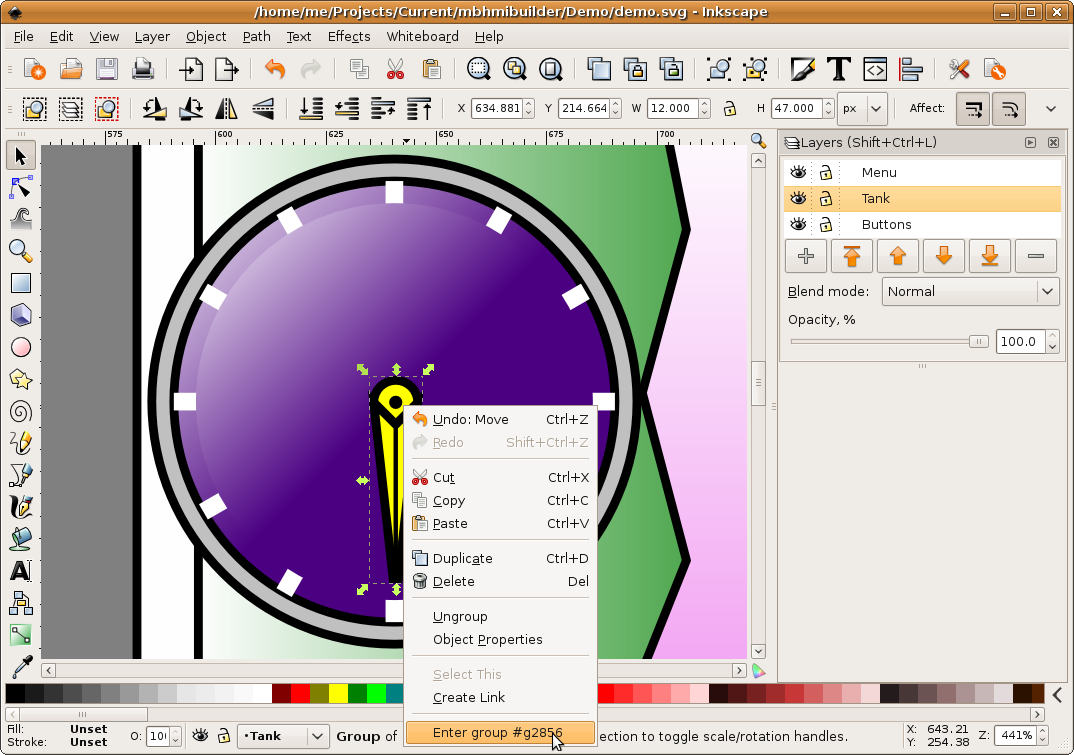
2) Select the object again and then right click on it. When the menu appears, now you can select "object properties".
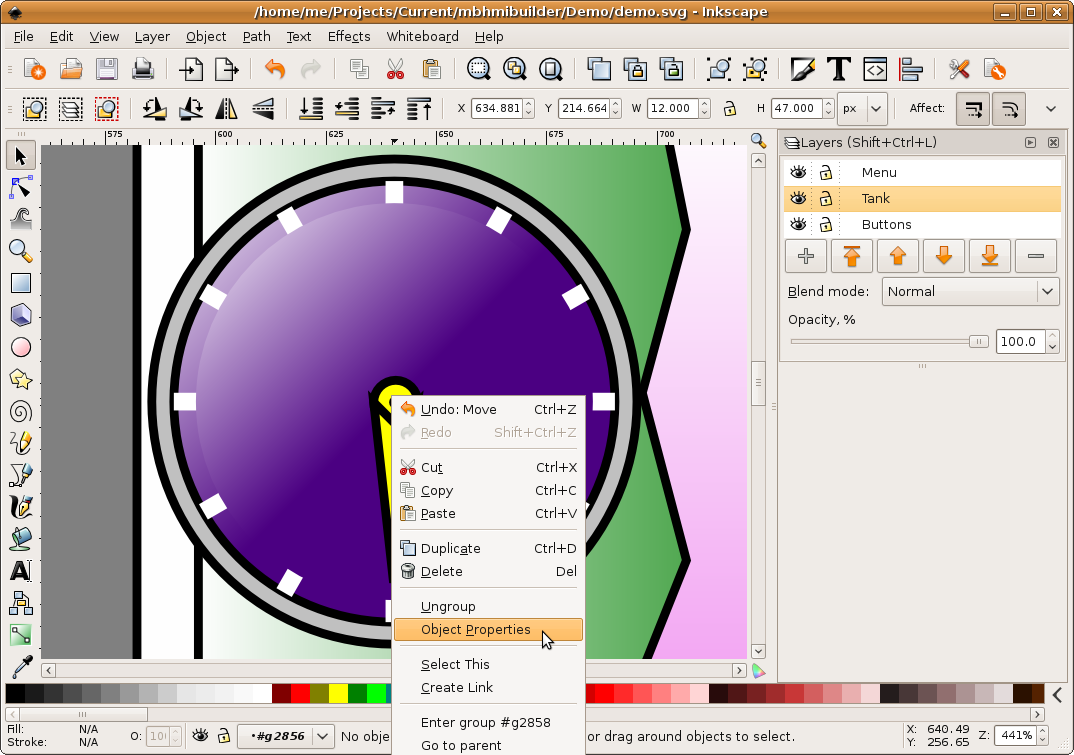
3) A dialogue box will appear. Enter the desired "id" into the "id" box. Leave the "label" and other settings as is. Record the "id" you used, as you will need to know it later.
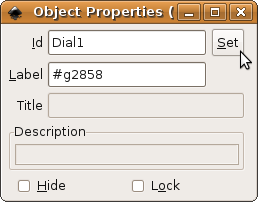
4) You can also set an "id" for the "outer" part of the object to make it easy to find again later.
5) If we examine the object in the XML Editor (this step is not necessary. This is described here for illustrative purposes only) we see that the "id" we will use is down an additional level.
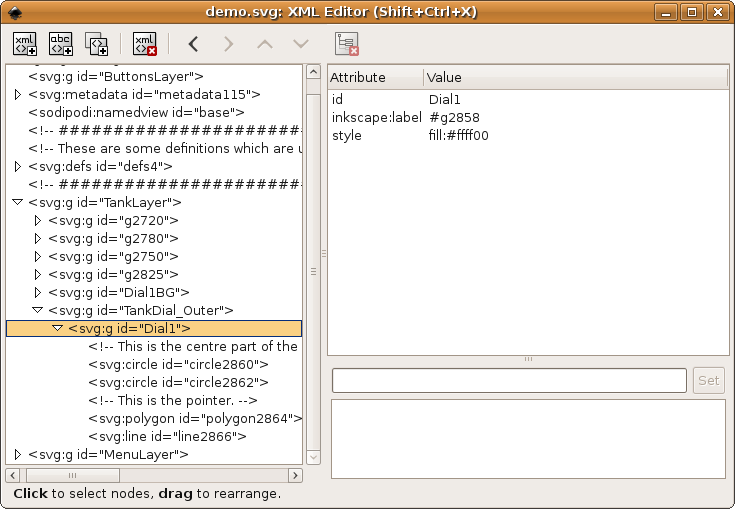
The reason we need to "enter" the group is because rotating objects will rotate about the current coordinate system. If we apply the rotation to the "outer" level, the object will rotate about the origin of the entire drawing (the upper left corner of the drawing). By applying the "id" down an additional level, the rotation is about the local coordinate system (a translation, or sliding movement has been applied to the outer level when you position the object), and the object will rotate about its own origin (zero, zero point). The objects intended to rotate have been provided with an extra XML level for this reason.