 MBLogic
for an open world in automation
MBLogic
for an open world in automation
HMI
Building HMI Web Pages
- Assembling web pages
- HMI web templates
- Editing SVG with Inkscape
- SVG Library
- Using the SVG Library with Inkscape
- Simple Example
- HMI Javascript Client Libraries
- Basic Concepts
- Manual HMI Web Page Construction
Simple Example
Simple Example:
Overview
This section shows how to create a simple HMI example displaying a number on a web page.
Select the Templates
Extract the hmibuilder archive (e.g. hmibuilder_2010-02-10.tar.gz or hmibuilder_2010-02-10.zip).
Navigate to the HMITemplates subdirectory.
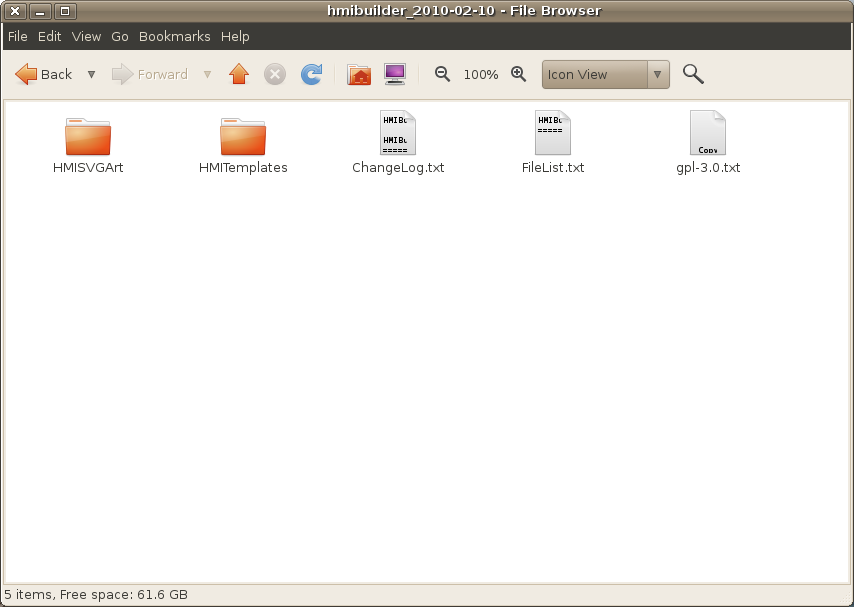
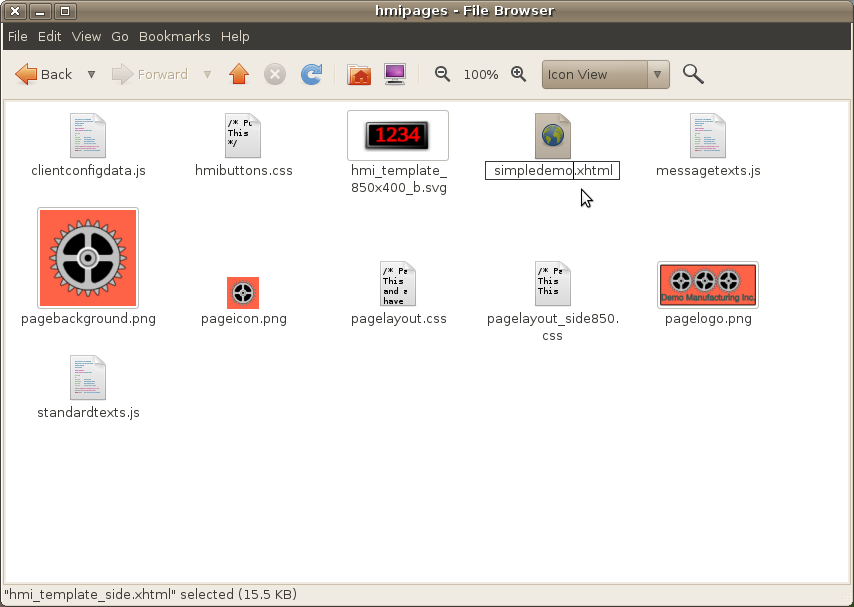
Select the web page, SVG templates, and other files that are appropriate for the application. See the documentation on selecting templates for more details.
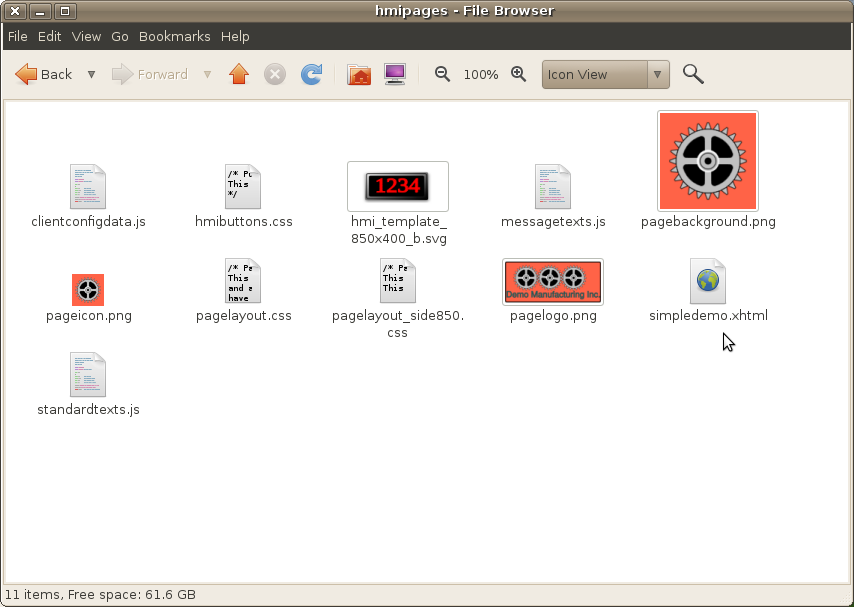
For this example the following files were chosen:
- clientconfigdata.js
- hmibuttons.css
- hmi_template_850x400_b.svg
- hmi_template_side.xhtml
- messagetexts.js
- pagebackground.png
- pageicon.png
- pagelayout.css
- pagelayout_side850.css
- pagelogo.png
- standardtexts.js
Copy these to a working directory.

Edit the SVG Drawing
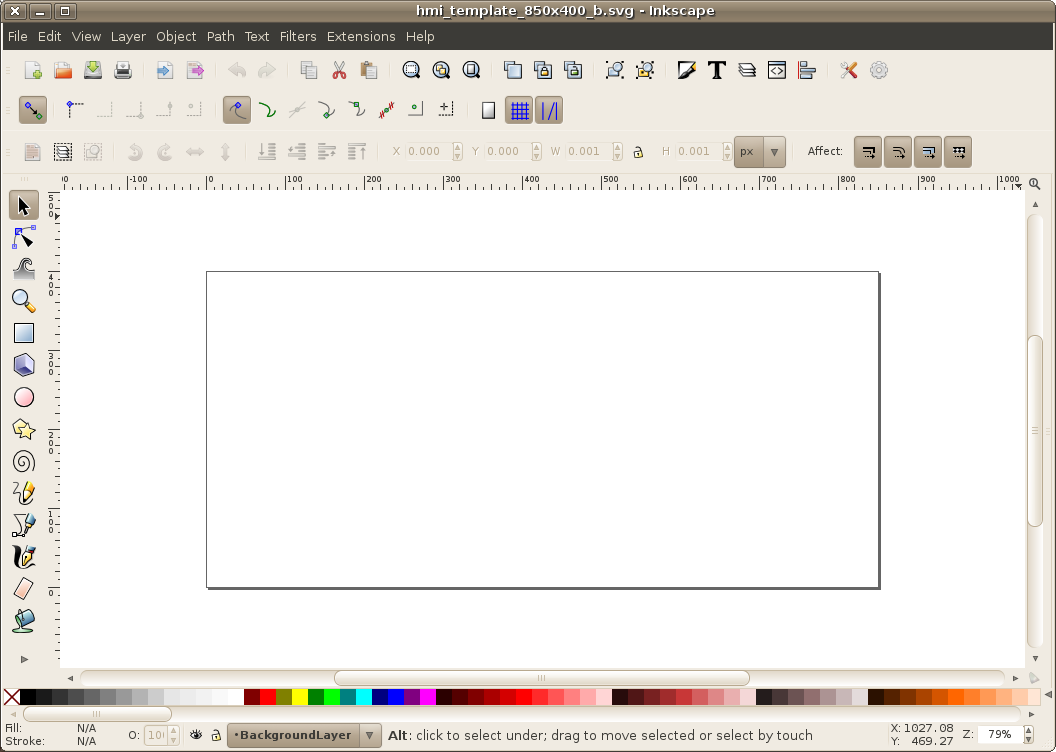
Open the selected SVG template with Inkscape.
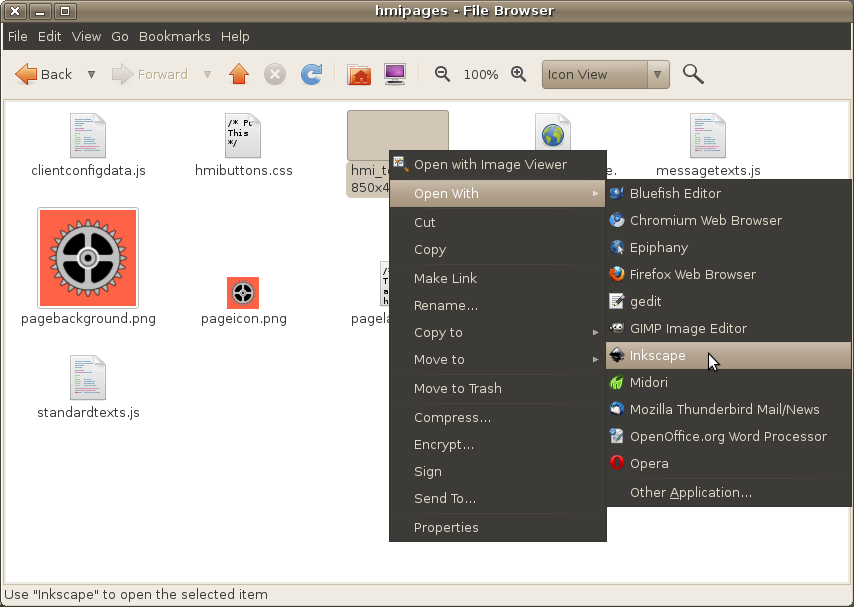
You should see something that looks like the accompanying screenshot.
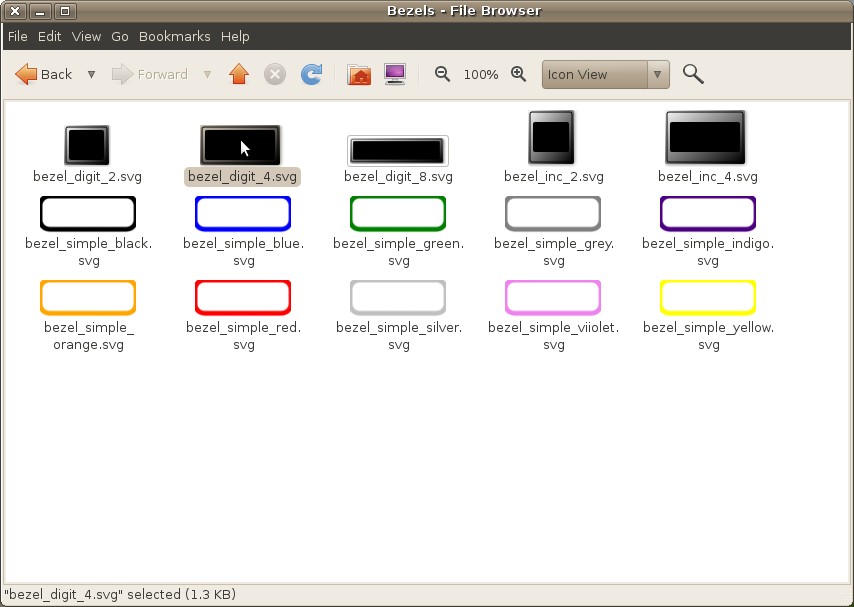
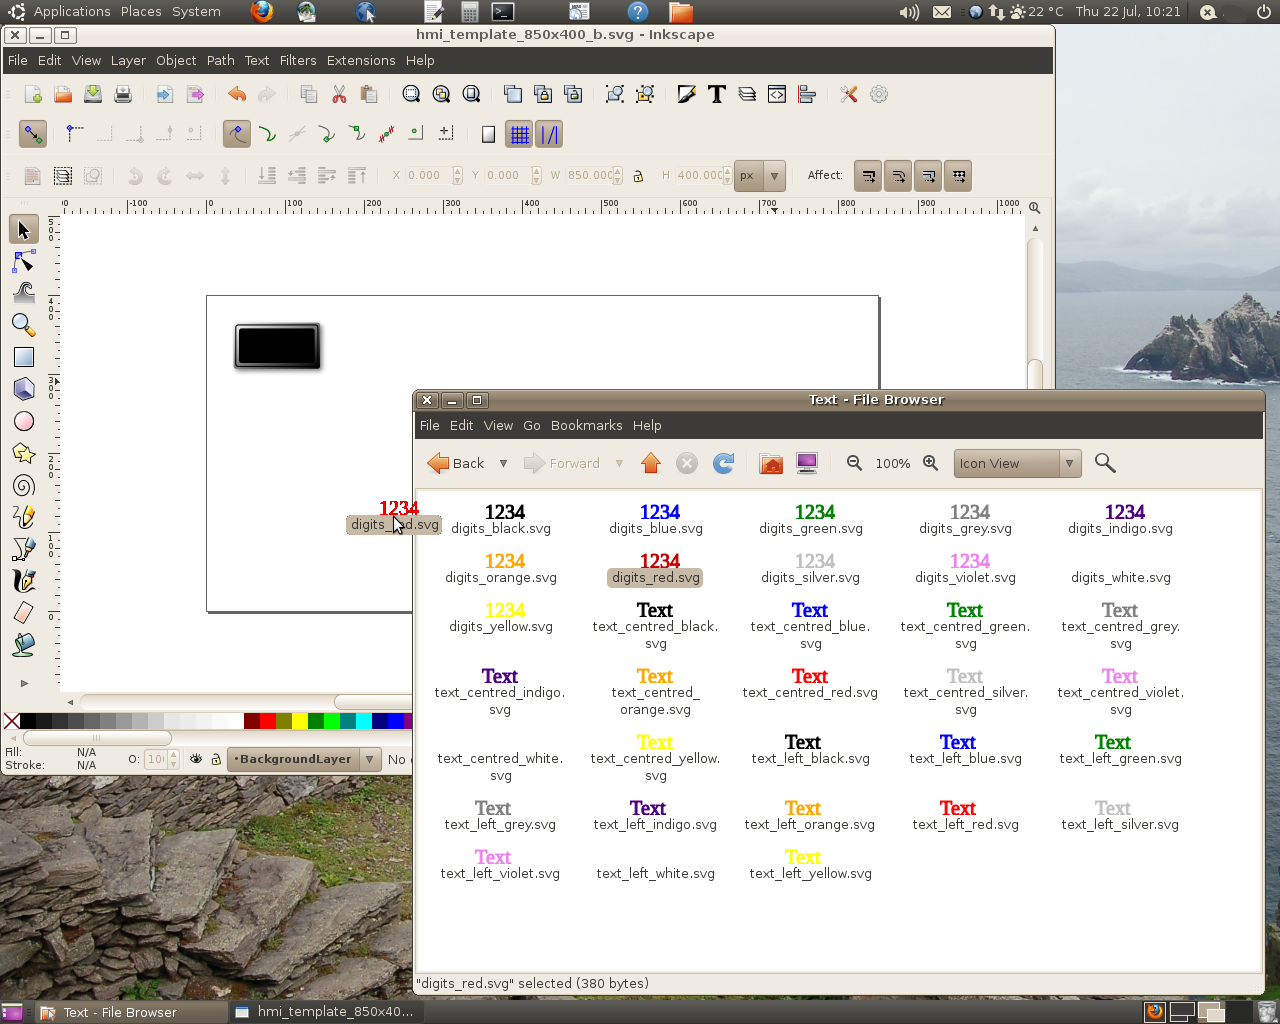
Navigate to the HMISVGArt directory in the HMIBuilder files that you extracted earlier. The various widgets (SVG clip art items) are sorted into subdirectories. There are between 500 to 600 files altogether.
Pick out the items you want to display. For this example we'll start with a background bezel for the numeric display.
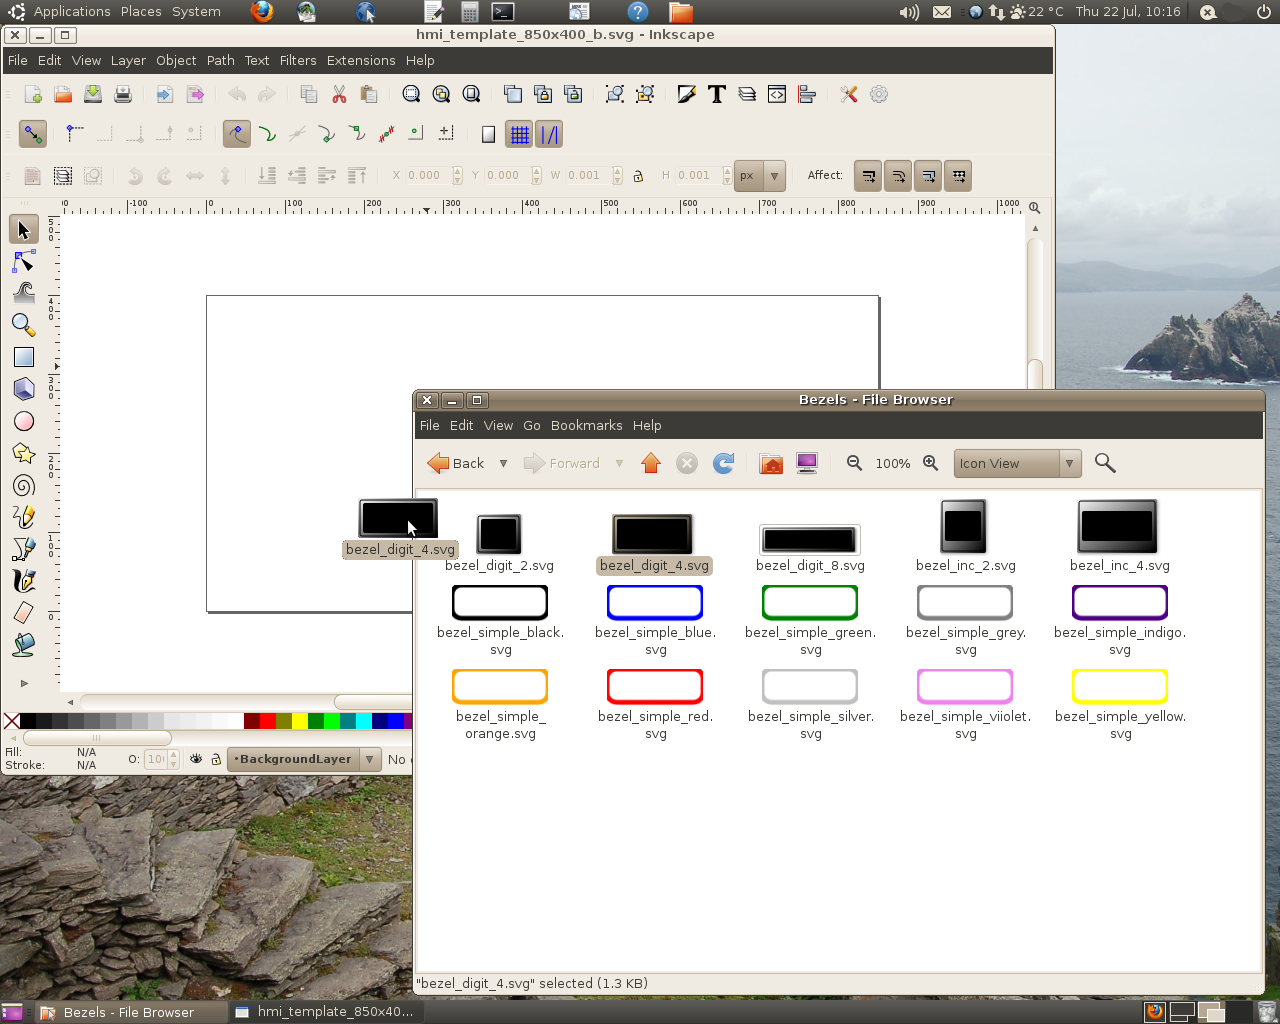
Drag it onto the Inkscape drawing.
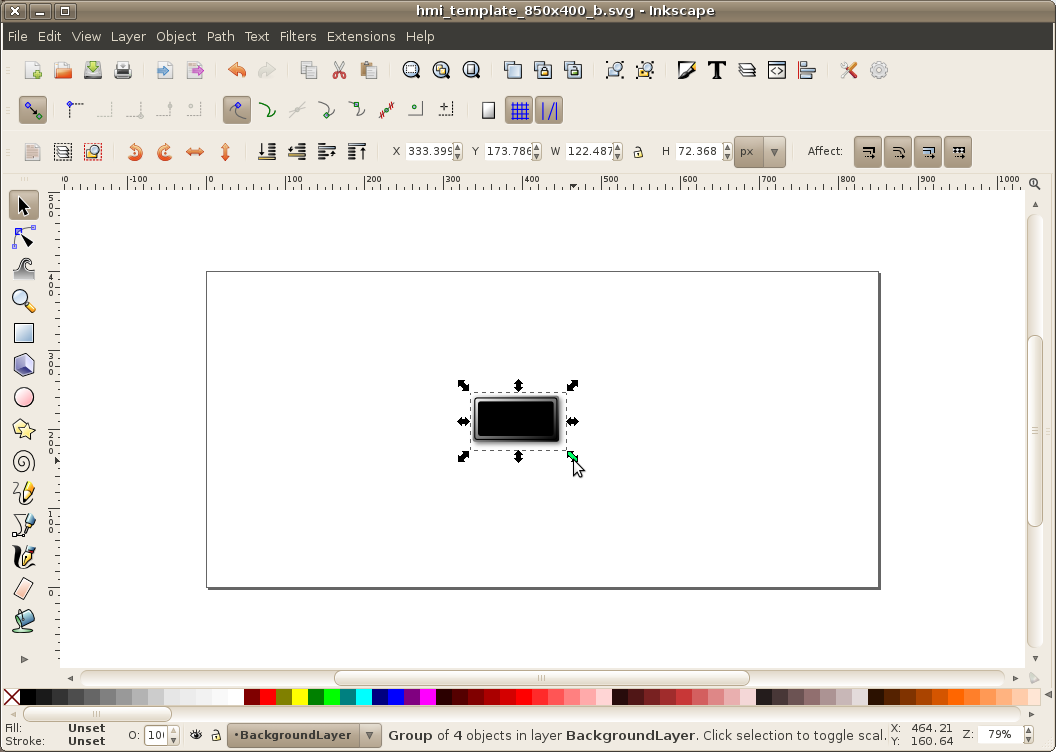
Resize the bezel using the "handles" and position it where you want on the screen.
Repeat using a text/numeric widget. In this example we'll use a numeric display. The difference between text and numbers is simply that numbers are right justified while text is left or centre justified. You can actually use the same widgets for either (it's all really just text anyway).
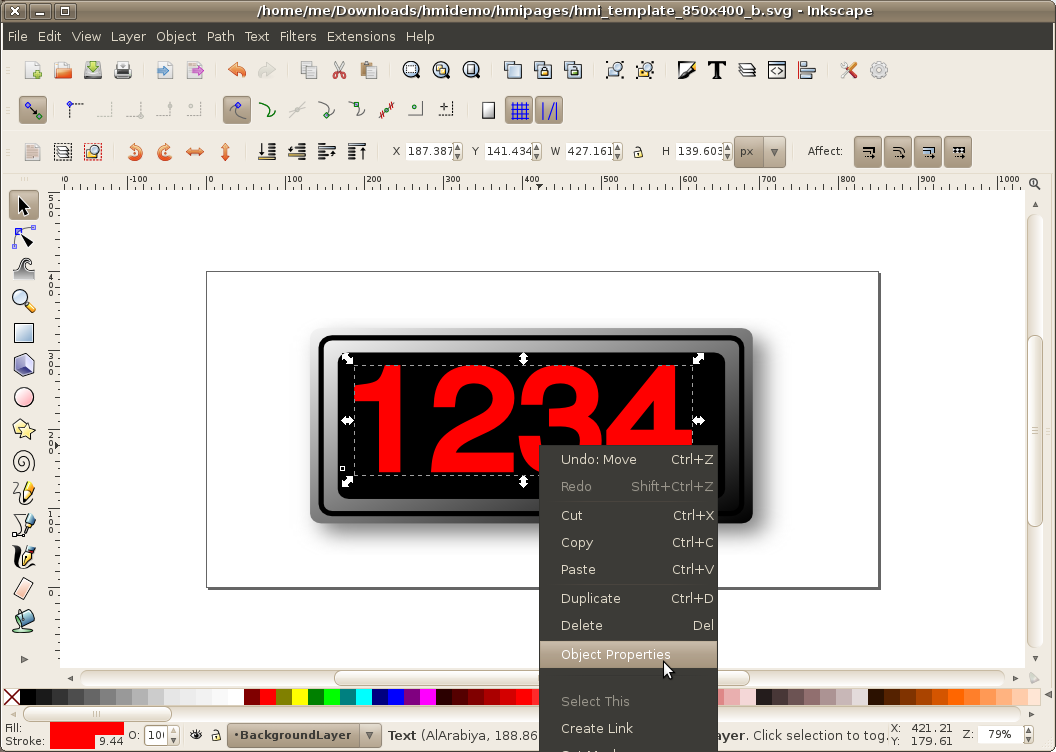
Resize the bezel and the numeric display, and position them where you want on the drawing. You may need to change the "stacking order" to ensure that the correct item ends up on top. That is described in the documentation on "Editing SVG with Inkscape".
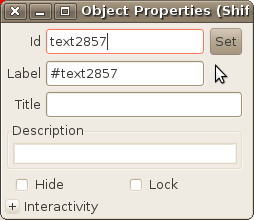
Right click on the numeric widget (the numbers) and select "Object Properties" from the pop-up menu.
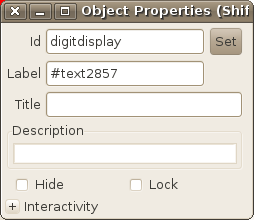
Edit the Id to whatever name you want to call it. This is the name that HMIServer will know it by. Be sure to click the "set" button to save the changes. Remember this name, because you will need to use it later. Close the object properties window when you are done.
Paste the Drawing into the Web Page
Rename the web page template file (the XHTML file) to whatever you want to call it. This will be the name of your web page.
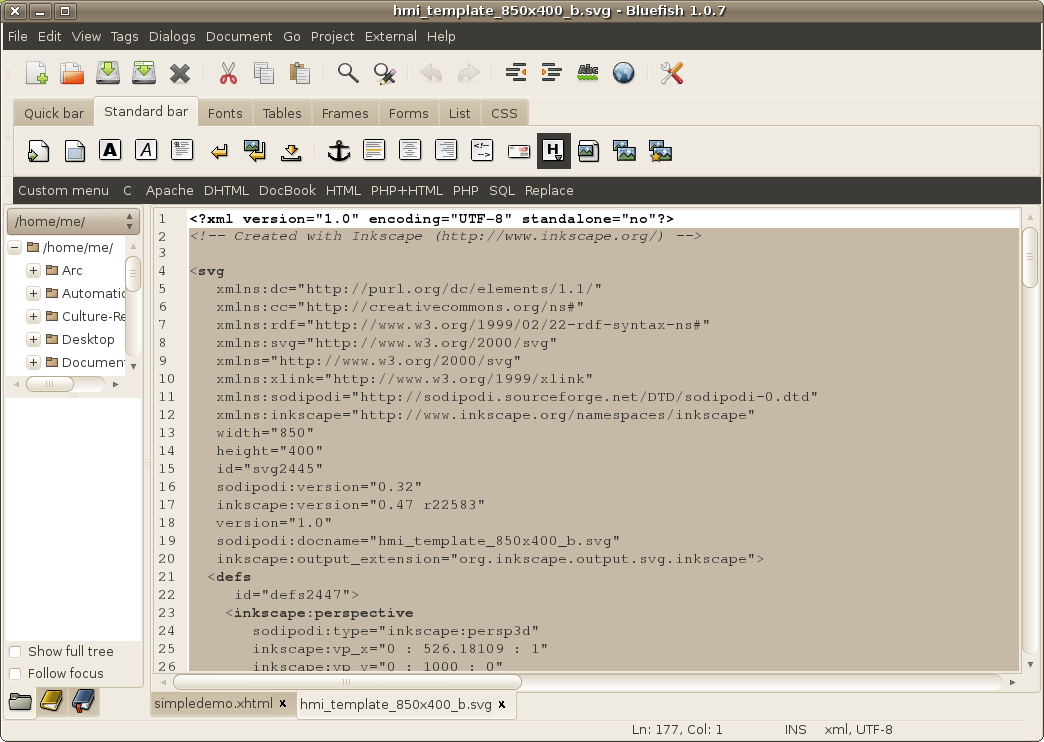
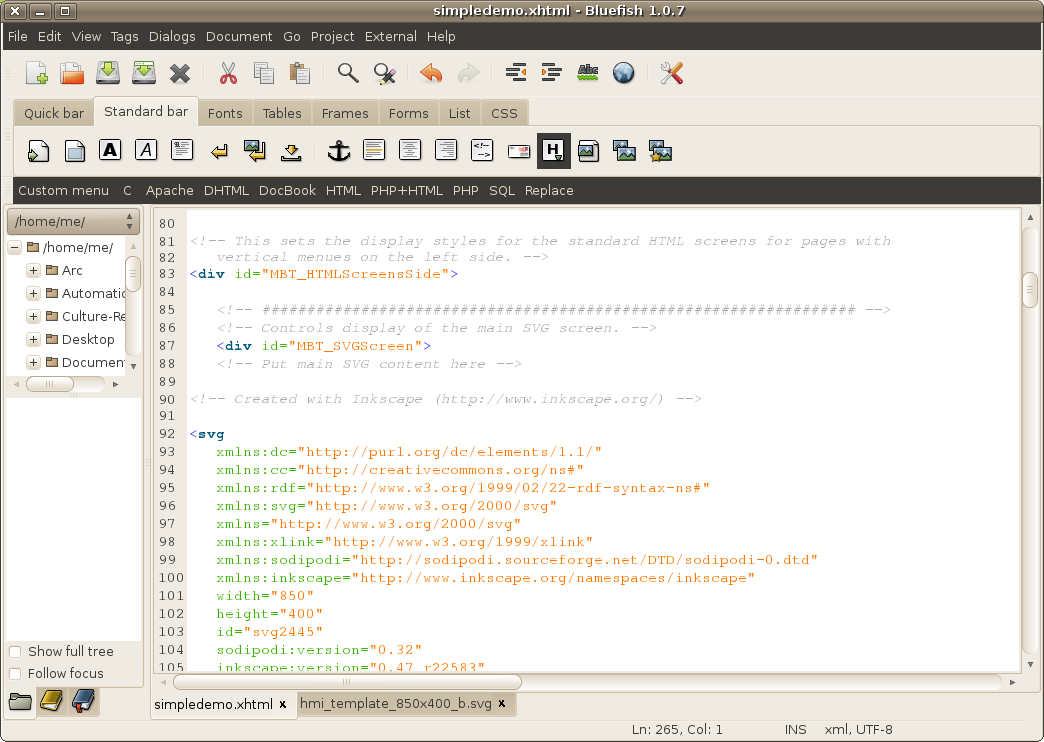
Open both the web page, and the SVG file with a text editor. You can use any text editor you wish, provided it works with straight text (e.g. a word processor won't work as it will insert hidden formatting codes). The screen shots show them both opened with an editor called "Bluefish", but any other editor can be used.
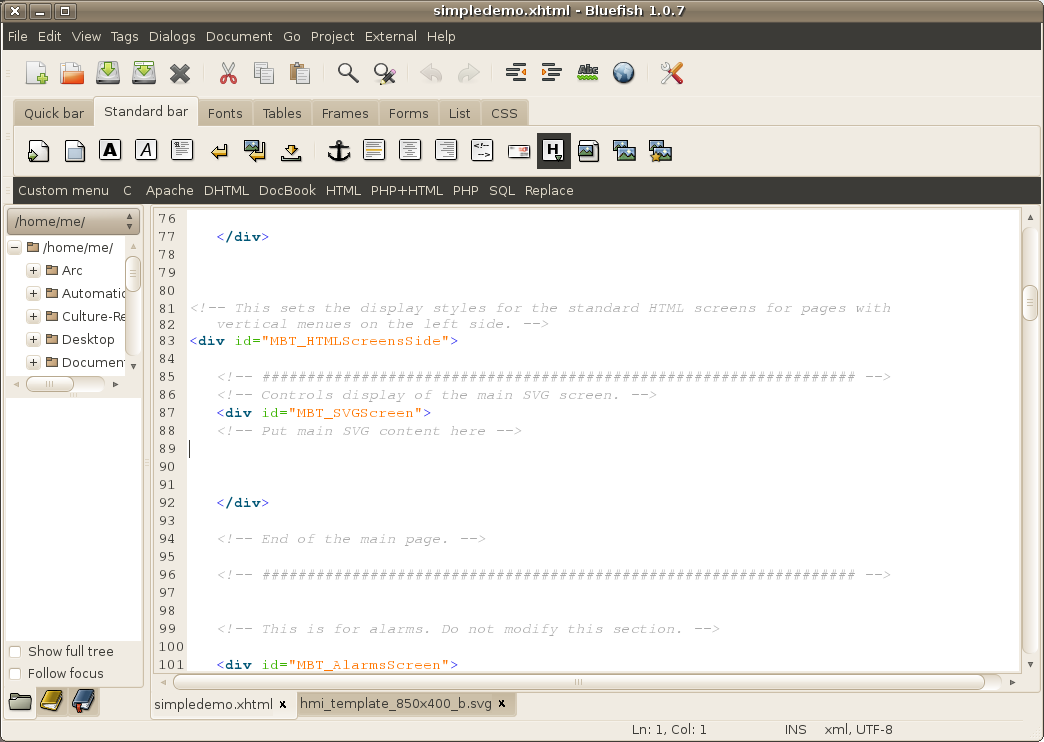
Find the spot in the XHTML file with a comment that says "Put main SVG content here".
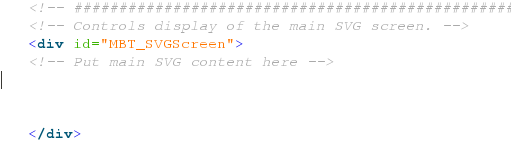
Copy the entire SVG file EXCEPT THE FIRST LINE and paste it into the XHTML file just below the comment that says "Put main SVG content here". Do not copy the line that says. <?xml version="1.0" encoding="UTF-8" standalone="no"?>
The text should end up below the command and above the </div> tag that immediately follows it.
Add the Application Javascript
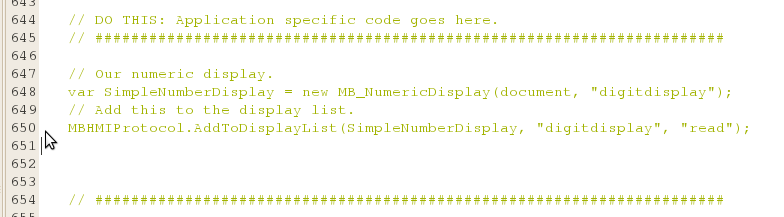
Now go down to near the bottom of the web page file, and look for a Javascript comment that says:
// DO THIS: Application specific code goes here.

We need to add two lines of Javascript code. One line will create an object that will control our number, and the other line will add it to the display list so that it gets automatically updated.
The functions which control the widgets are listed in the section on "HMI Javascript Client Libraries".
In this case we will choose "MB_NumericDisplay". You can cut and paste the example in the documentation right into your web page. Just change the variable name to something meaningful (you cannot use duplicate variable names however), and change the id parameter to match the id you used in the SVG drawing.
	// Our numeric display.
	var SimpleNumberDisplay = new MB_NumericDisplay(document, "digitdisplay");
The second line will add the new object to the "display list" (this is a list of objects which need to be updated) so that it gets automatically updated whenever new data arrives.
	// Add this to the display list.
	MBHMIProtocol.AddToDisplayList(SimpleNumberDisplay, "digitdisplay", "read");
The first parameter will be the name of the object you created, the second will be the name of the hmi "tag" that HMIServer will use, and the third parameter will be "read" (this is the action to be performed). The HMI tag name can be the same as the id for the widget (as was used in this example), but it might also be different. For example, if you had two different widgets you wanted to control on the screen, each of them would need a different id string. However, they can both get their data from the same HMI tag.
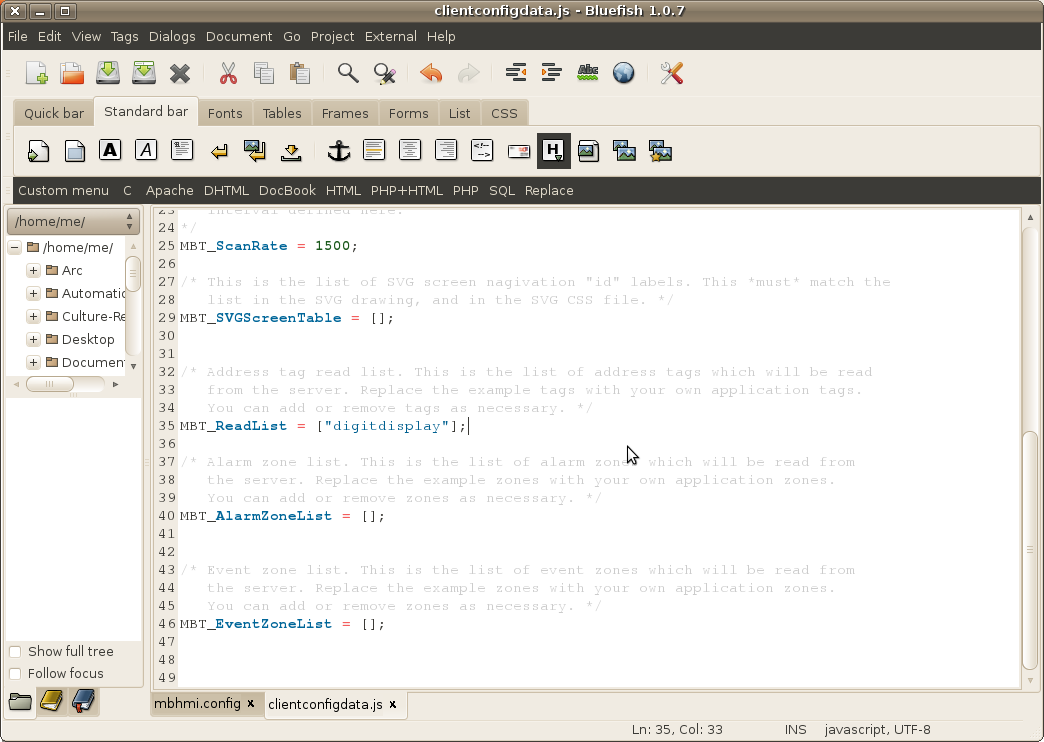
Edit the Client Configuration
Open the "clientconfigdata.js" file. This contains the general parameters for the web page.
Find the array called "MBT_ReadList". This is the list of tags which are requested from the server. Change this to match what we used in the web page. In this case, there is just one tag.
MBT_ReadList = ["digitdisplay"];
Edit the alarm list and event list also. In this case we haven't defined and alarms or events, so these lists should be empty.
	MBT_AlarmZoneList = [];
	MBT_EventZoneList = [];
We also set the screen list to empty, as we don't have any screens except the default one.
MBT_SVGScreenTable = [];
Create the Server Configuration
Navigate to wherever you have installed HMIServer, and create a new "mbhmi.config" (you will be replacing the demo file, so look for that).
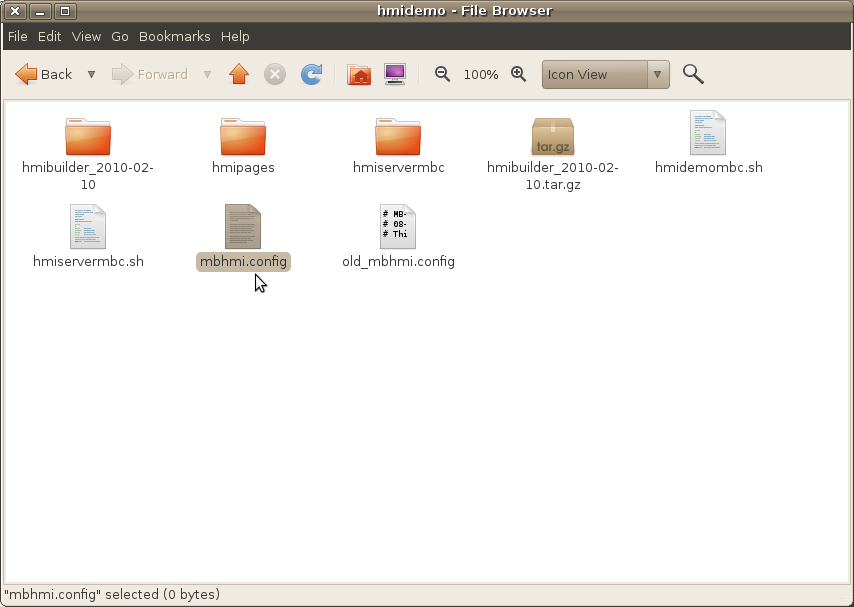
Open the new config file with a text editor, and add the following lines:
	# Client page(s) version.
	[clientversion]
	ver=Some example version number

	# Server ID.
	[serverid]
	id=A simple demo
For ver in each case, you can call this whatever you want. This will be the name which identifies the server to the web page (there are functions you can use to read these values).
Create the tag data in the config file.
	# A simple numeric display.
	[digitdisplay]
	addrtype=holdingreg
	memaddr=0
	datatype=integer
	range=-32768, 32767
	scale=0, 1
The tag name MUST match the name you used in the web page. We've also used the following parameters:
	addrtype=holdingreg	- This indicates its a holding register.
	memaddr=0				- This is register address 0.
	datatype=integer		- We want to display it as an integer.
	range=-32768, 32767	- This is the numeric range we want to allow.
	scale=0, 1				- We are applying the default scale factors.
If you leave out range and scale, the default values will be applied.
Add some alarms and events.
	# Event definitions.
	[&events]
	base=32300
	0=event1, zone1

	# Alarm definitions.
	[&alarms]
	base=32400
	0=alarm1, zone1
Copy the Application to the HMI Directory
Clear the original demo files out of the "hmipages" directory. You won't need any of them.
Copy your new project into the "hmipages" directory. Note that you can (should) replace the graphics files "pagebackground.png", "pageicon.png", and "pagelogo.png" with your own graphics to match your project. You can use the same file names. If you change those names, you will need to also change the names in the web page and the CSS file to match.
Test the Application
Start up HMIServer, using the appropriate parameters. You can use the shell script as a guide.
See the section on "HMI Server Start Parameters" for details:
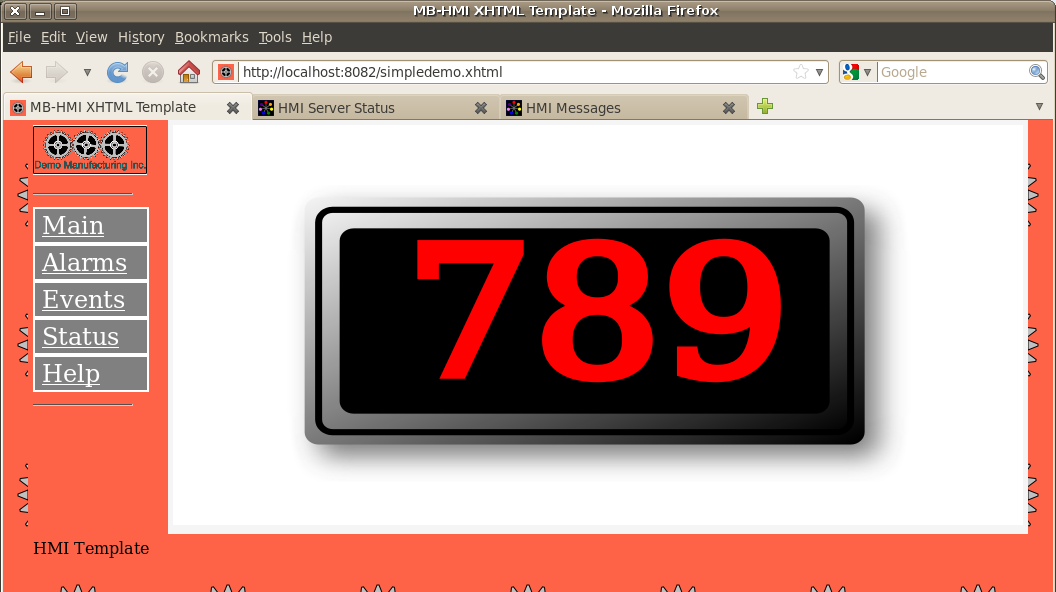
Enter the URL for your web page. In this example I used
http://localhost:8082/simpledemo.xhtml
If you used a different port for the web server, you will need to change the corresponding port address in the URL (this example used 8082).
You should now see the numeric display. If you change the value in the Modbus/TCP server (holding register 0 in this example), the numbers on the display will change to match.
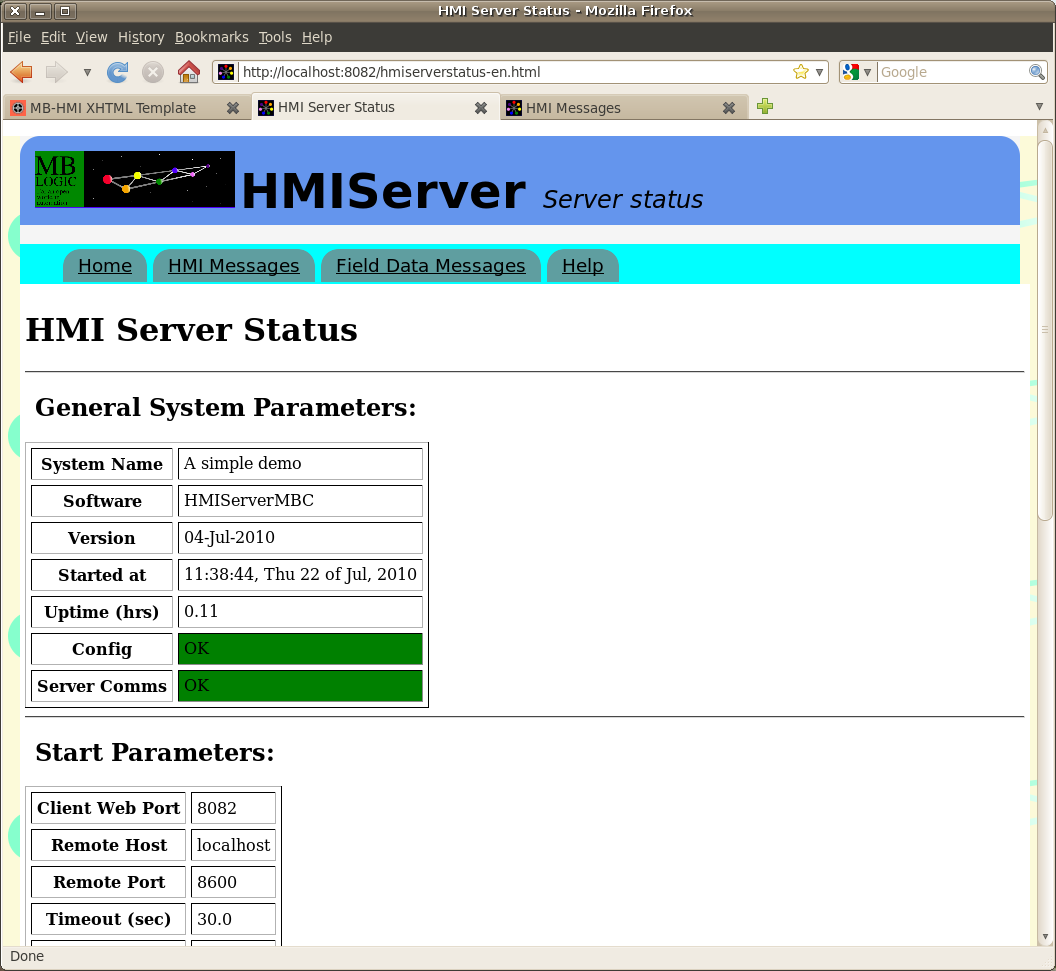
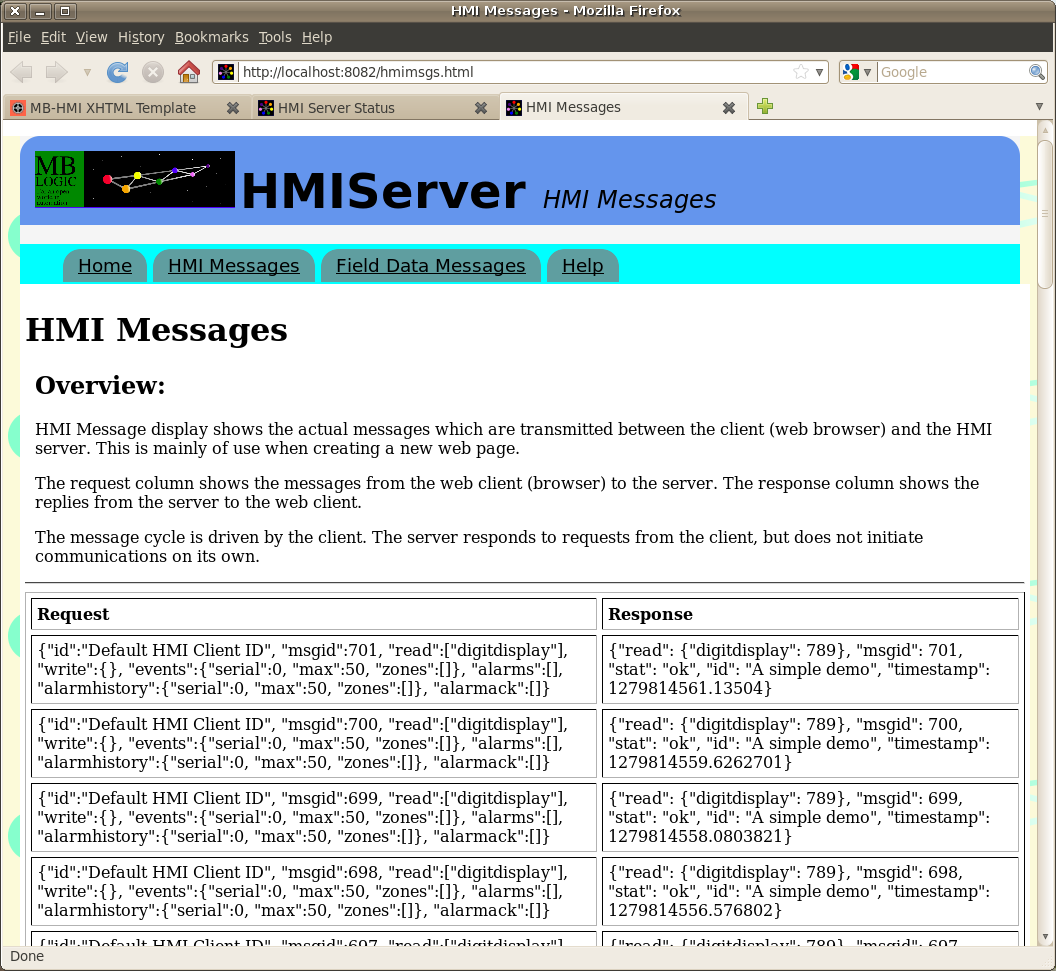
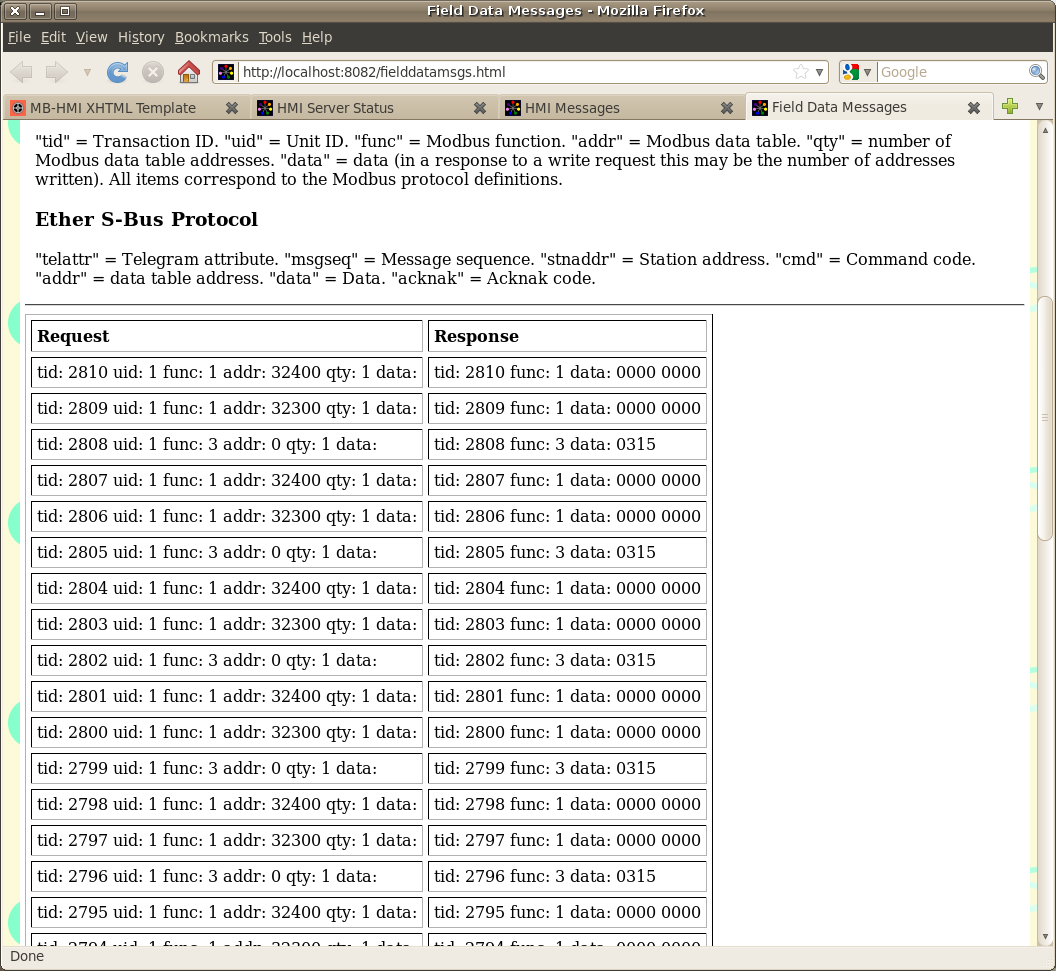
The server status web page can be used to display the current status and configuration. It will tell you if you have any configuration errors in your "mbhmi.config" file. The "HMI Messages" will show you the HMI messages, to help you debug problems there. The "Field Device Messages" page will do the same for Modbus messages.
HMI Server Configuration
The server configuration used with this example is shown here:
	# Client page(s) version.
	[clientversion]
	ver=Some example version number

	# Server ID.
	[serverid]
	id=A simple demo


	# A simple numeric display.
	[digitdisplay]
	addrtype=holdingreg
	memaddr=0
	datatype=integer
	range=-32768, 32767
	scale=0, 1

	# Event definitions.
	[&events]
	base=32300
	0=event1, zone1

	# Alarm definitions.
	[&alarms]
	base=32400
	0=alarm1, zone1
Browser Compatibility
Make sure you are using a modern web browser. Pretty much any web browser other than Microsoft Internet Explorer will work. MS IE is based on older technology and doesn't have the modern features necessary to perform HMI tasks.